Applesauce Variations - ROSEHIP APPLESAUCE
I absolutely love applesauce! Not only does it taste delicious but it's also very healthy! Even though I adore this preserve, I do like to change it up a bit by mixing flavors. Two years ago I shared with you my:
Blackberry Applesauce Recipe
(click HERE to read the entire post)
Today we will be mixing the wonderful flavors and textures of rosehips and apples.
ROSEHIP APPLESAUCE
You will need to make your rosehip puree first and freeze it since apples and rosehips ripen at different rates. My rosehips are ripe in August and apples usually ripen at the end of September and into October.
ROSEHIP PUREE
1. Harvest your ripe rosehips.
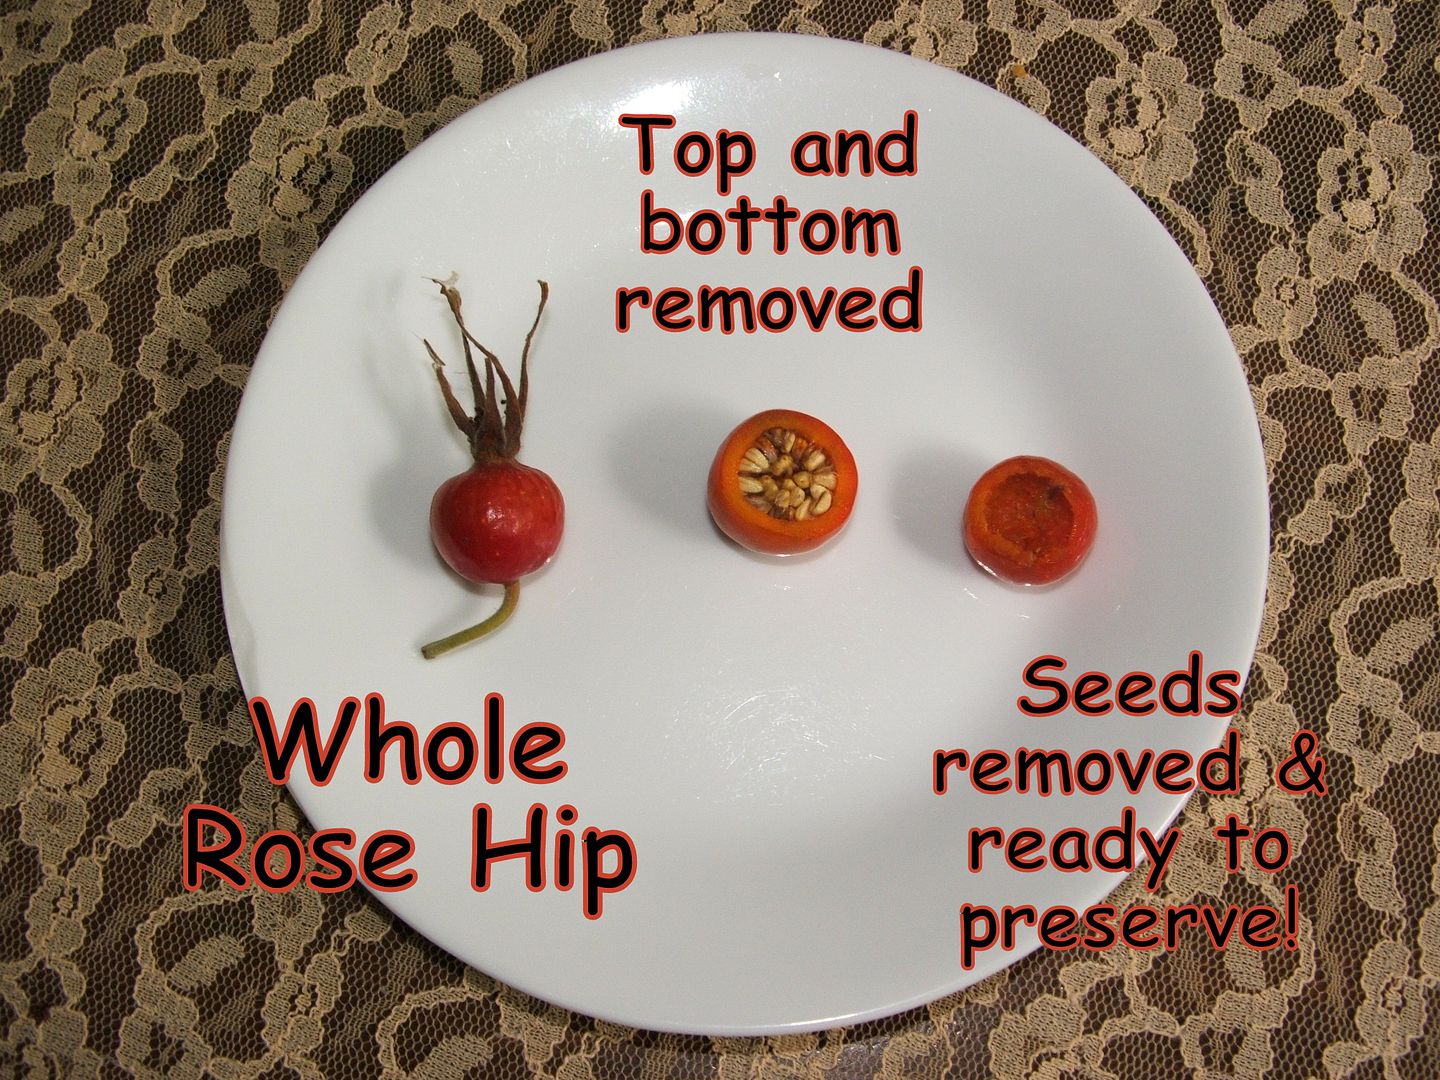
2. Prepare rosehips for preserving (click HERE to learn how)

3. Place prepared rosehips in a stock pot and add just enough water so that they do not burn (not too much water though).
4. Bring to boil and simmer over low heat for about an hour stirring often (you might need to add a little more water so that it will not burn).
5. Turn off the heat and let the rosehips cool in the pot overnight or about 10 hours.
6. Put the rosehip mash through a food strainer - click HERE to view the strainer that I use.
7. Freeze this rosehip puree until apple harvest
APPLE PUREE
(I always make plenty of apple puree to make various types of applesauce. You will have extra puree left over to make plain cinnamon applesauce as well as the rosehip applesauce)
2 "six quart baskets" of apples (washed, drained & cut in half)
about 4 to 6 cups water
a little lemon juice to stop the apples from turning brown
Place the prepared apple halves in a large stock pot and add the water (the water will NOT cover the top of the apples - the purpose of the water is to prevent the apples from burning and to add a little more fluidity to the sauce). Place the stock pot on a burner over medium heat until you see the water at the bottom start to boil - then cover and turn down the heat to simmer. Simmer for 1 hour - stirring occasionally.
Before you heat the apples they should look like the first picture below - after simmering they should look like the second picture below.
Allow the simmered apples to cool (I usually simmer the apples at night and remove from the heat and let them cool overnight). Now you will need to use a food strainer ( click here to view the food strainer that I use). This strainer will remove the skins and seeds from the sauce. Continue adding the cooled & simmered apples until they have all been squeezed through the food strainer. Set aside until next step.
COMBINE THE APPLE AND ROSEHIP PUREES
First you will need to thaw the rosehip puree for at least 24hours in the refrigerator.
1 cup rosehip puree
4 cups apple puree
sugar to taste

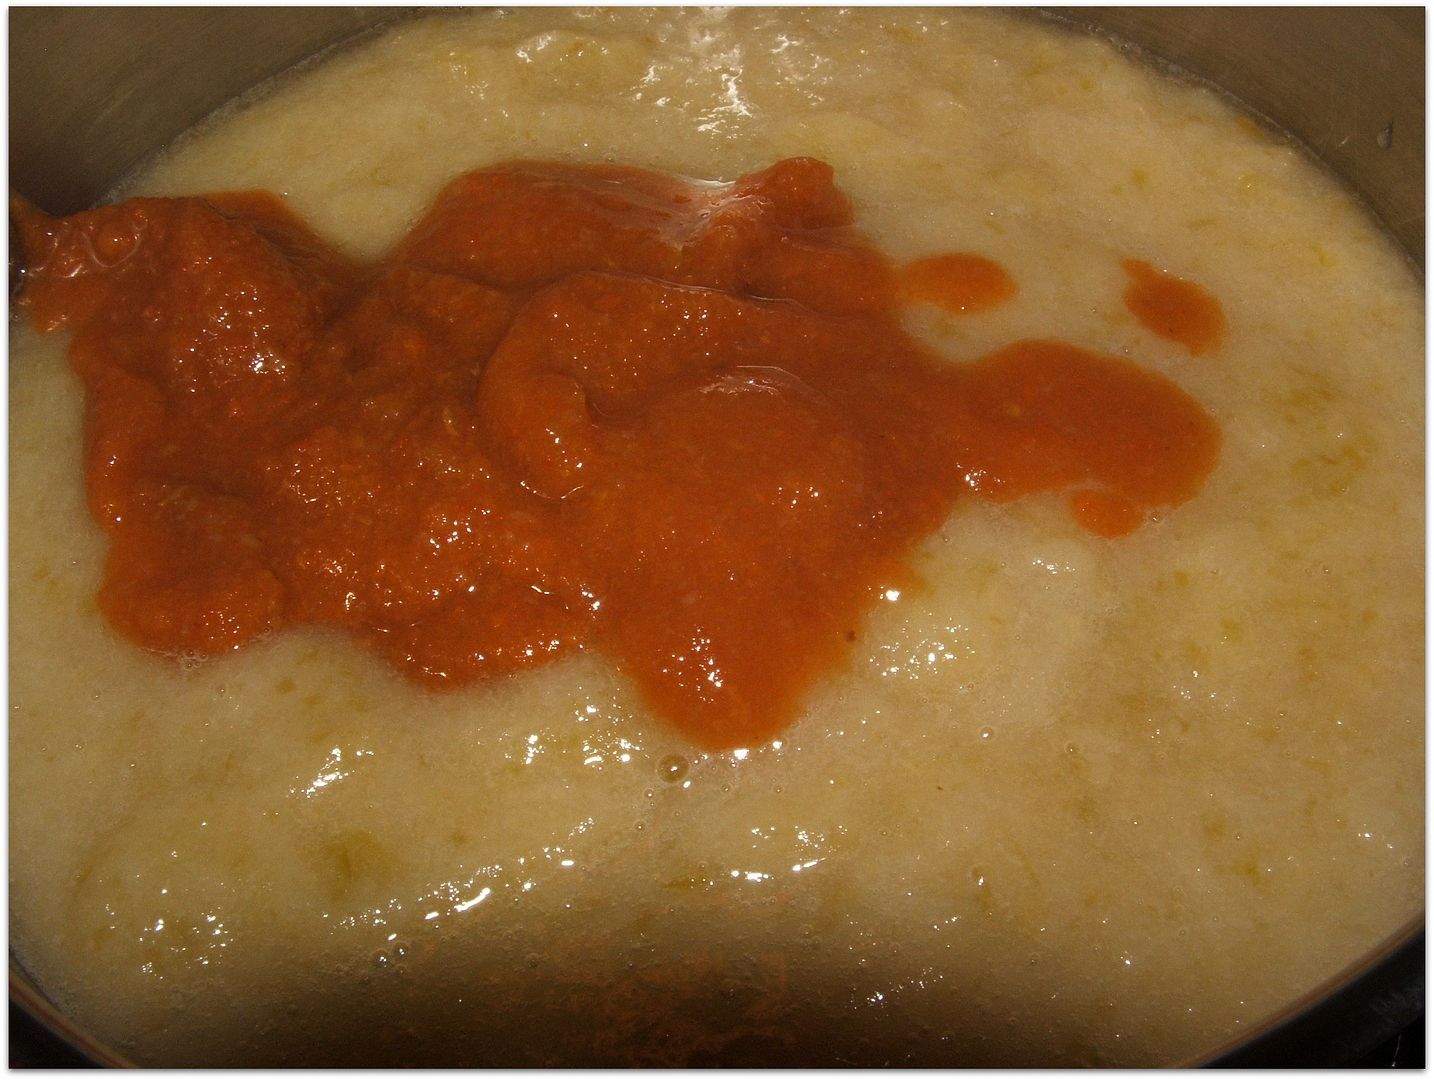
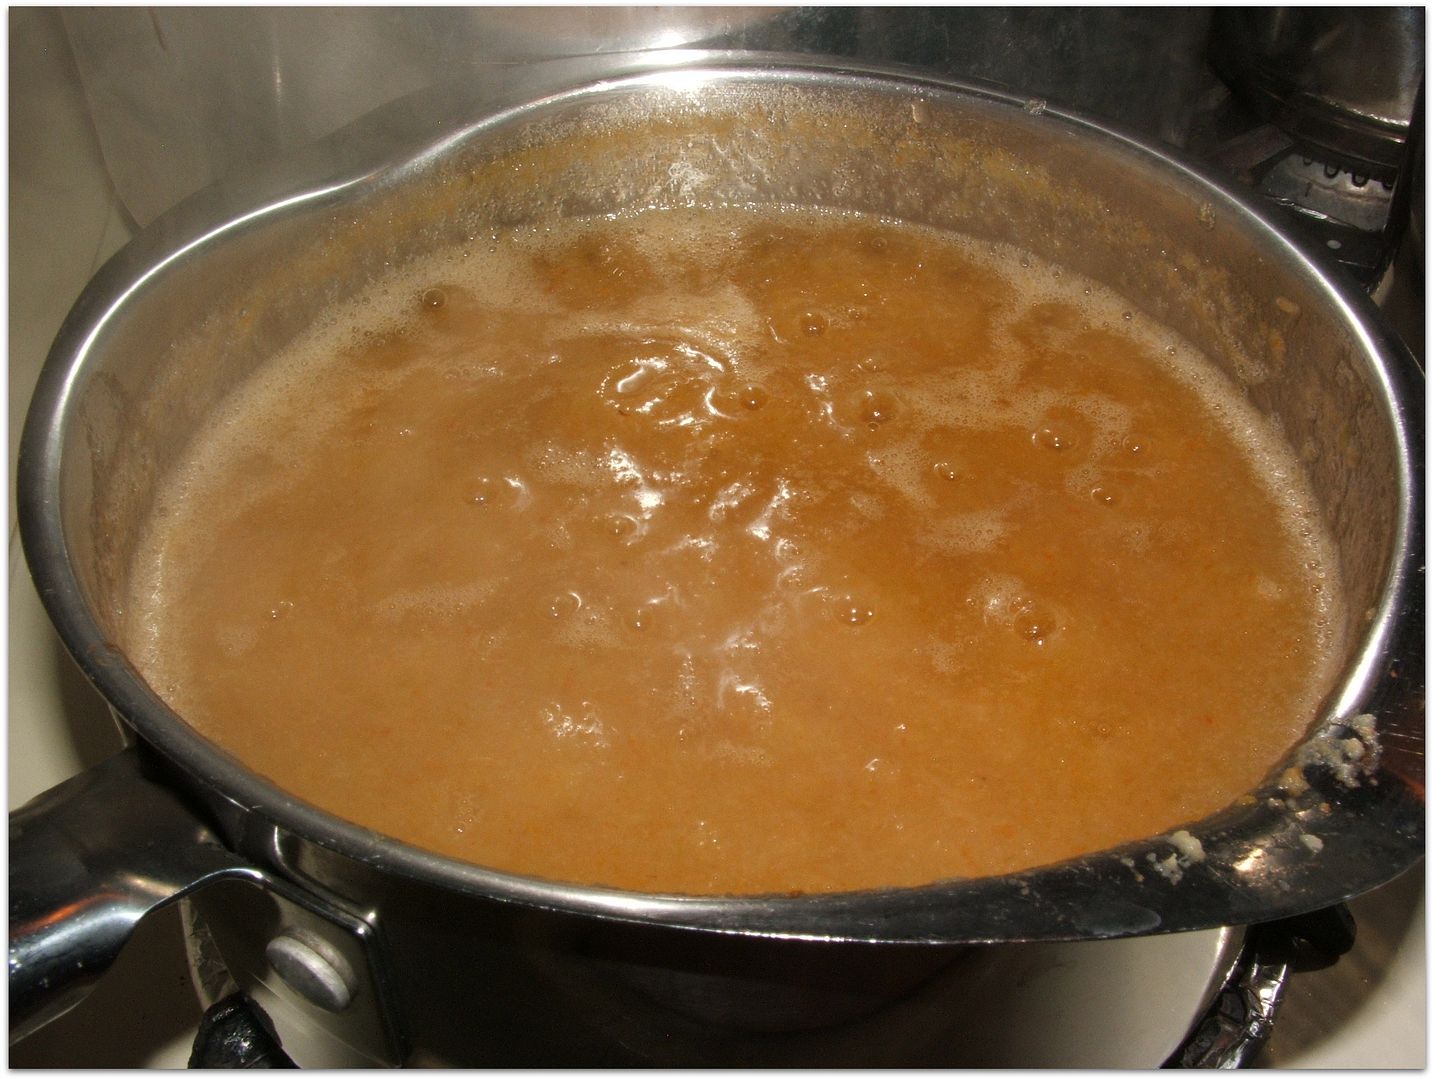
Stir together until combined both purees and some sugar (start with a small amount of sugar and then build up to your taste as it boils). Bring to boil over medium heat and then turn down and simmer for 45 minutes to an hour (IMPORTANT - Make sure that you stir often). While the sauce is simmering you should gather your canning jars, lids and rings (you will need about 3 pints). (see Canning Basics - Jar Sizes). Also, gather all other canning supplies: (see Other Canning Supplies)
Start the water boiling for Jar sterilization: (see Sterilizing Jars & Lids) .
By now your jars should be sterilized and ready to be filled. Take the jars out of the boiling water (I use my jar remover and make sure that the water is drained out of each jar). Ladle the applesauce into each jar making sure not to go above the bottom of the threads on the jar. Continue filling until all of the applesauce has been used up. Wipe the rim of each jar with a damp cloth making sure that any sauce residue is gone (any residue left on the rim can stop the jar from sealing). Place a sterilized lid on each jar and then tighten a ring on each jar. Place all jars in a "Water Bath Canner" and process (boil) the filled jars for 20 minutes (make sure that the water level in the Canner is 1 inch above the tallest jar)
After boiling for 20 minutes remove the jars and place them on the counter or table to cool (I always place them on a cloth because there have been a few times when a jar cracked and then the contents oozed out making a mess - the cloth will help if that happens). You will hear the wonderful popping sound of your jars sealing.
ENJOY!

Copyright, Permissions& Disclaimer

Shared with:
Friday Feature Linky Party
Pretty Pintastic Party
Thursday Favorite Things
Happiness is Homemade
Over the Moon Link Party
Tuesdays with a Twist
You're the STAR
Wonderful Wednesday Blog Hop
Oh My Heartsie Girls Wonderful Wednesday
______________________________________________________________
Grow your own!
Many wonderful garden products from


No comments:
Post a Comment
Please feel free to leave comments or questions (no question is ever stupid) - They will show up on the blog once I have read through them.
Thank You.