
Minty Cocoa Scones
Scones usually go hand in hand with afternoon tea. Well, I decided to create a scone recipe that is meant to partner with coffee.
Printable Recipe
1/3 cup butter
1 1/4 cups flour
1/2 cup mint chips
1 egg
3 teaspoon baking powder
1/4 cup sugar
1/4 cup cream (I used half & half but whipping cream will work also)
1/4 cup cocoa powder
1/2 teaspoon salt
extra granulated sugar for sprinkling on top
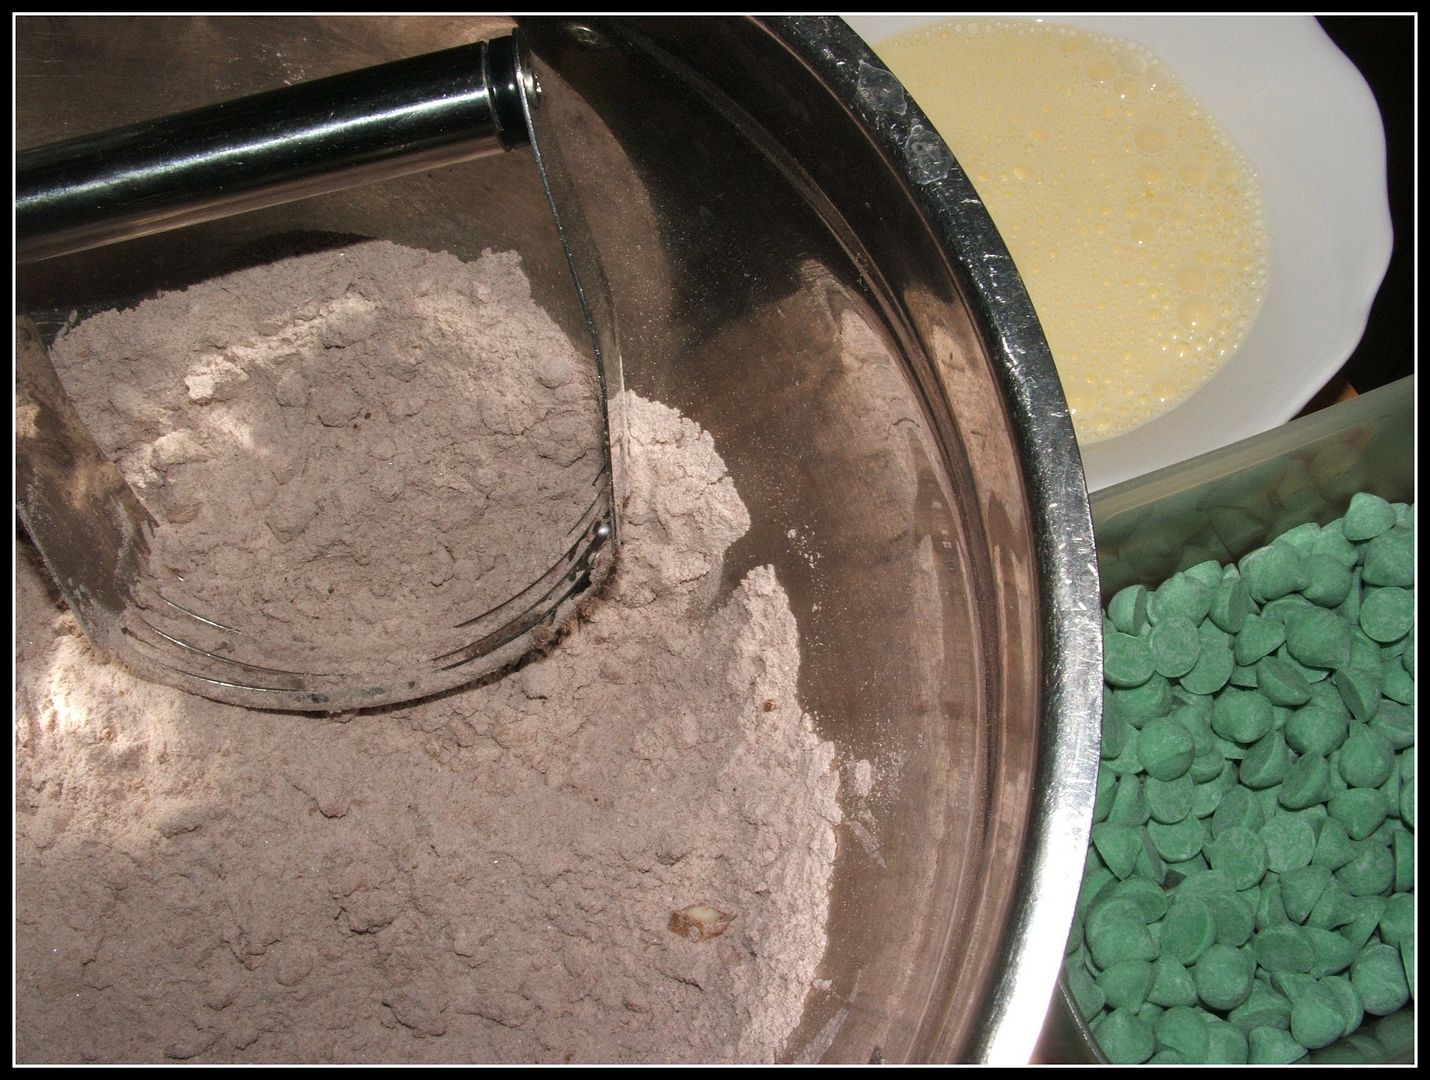
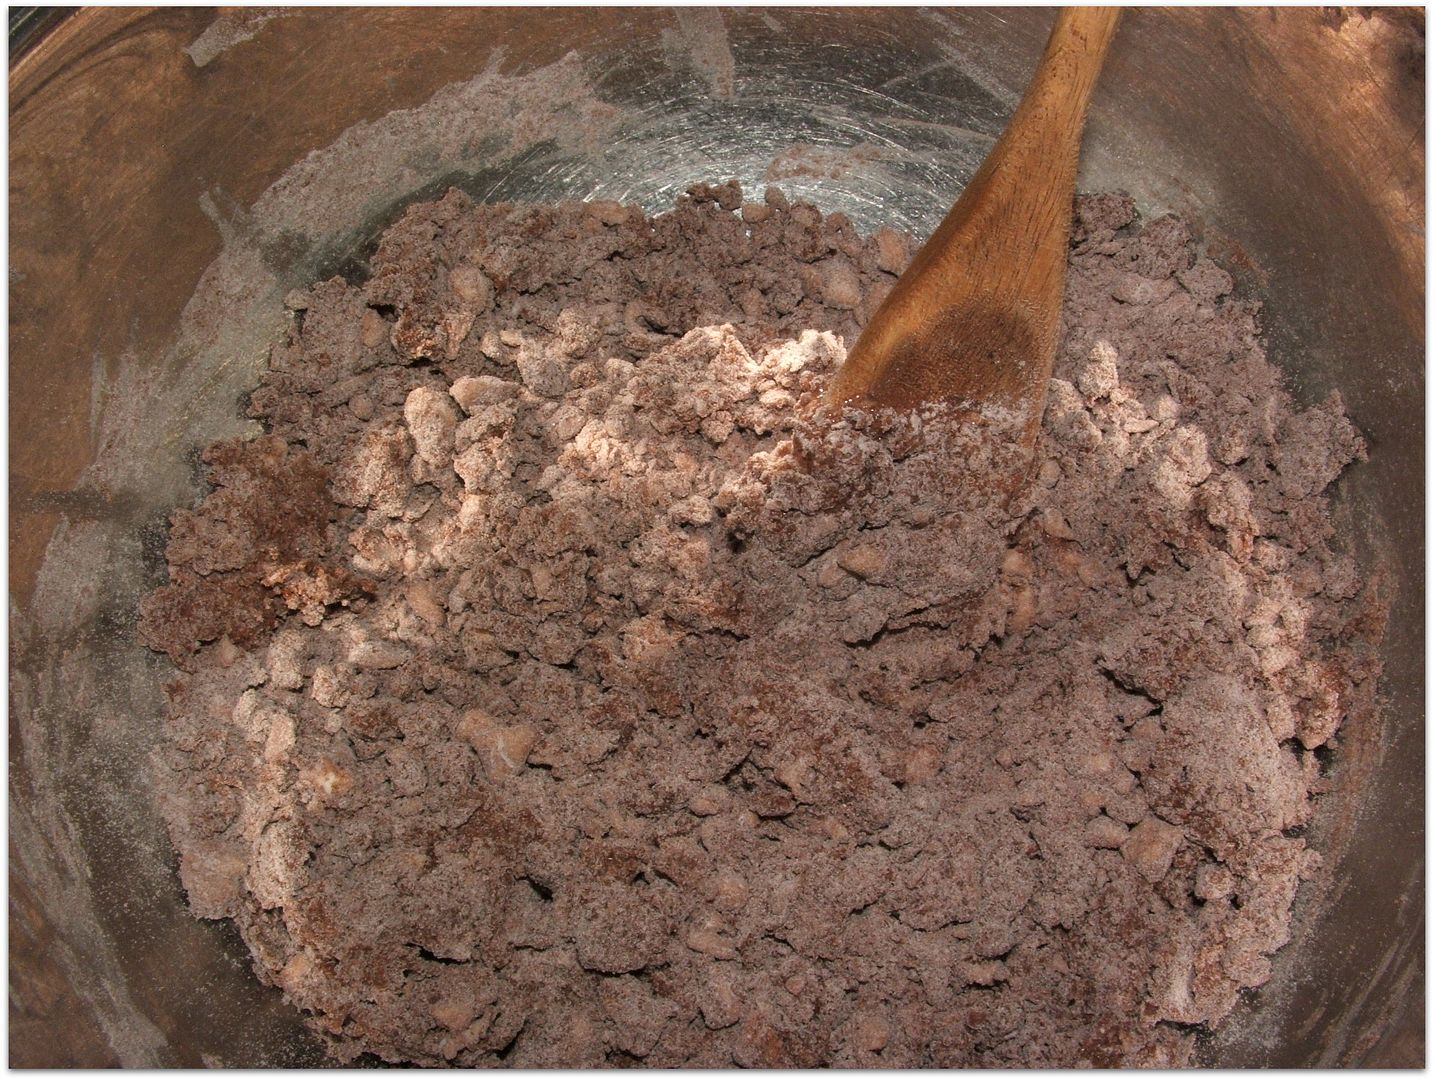
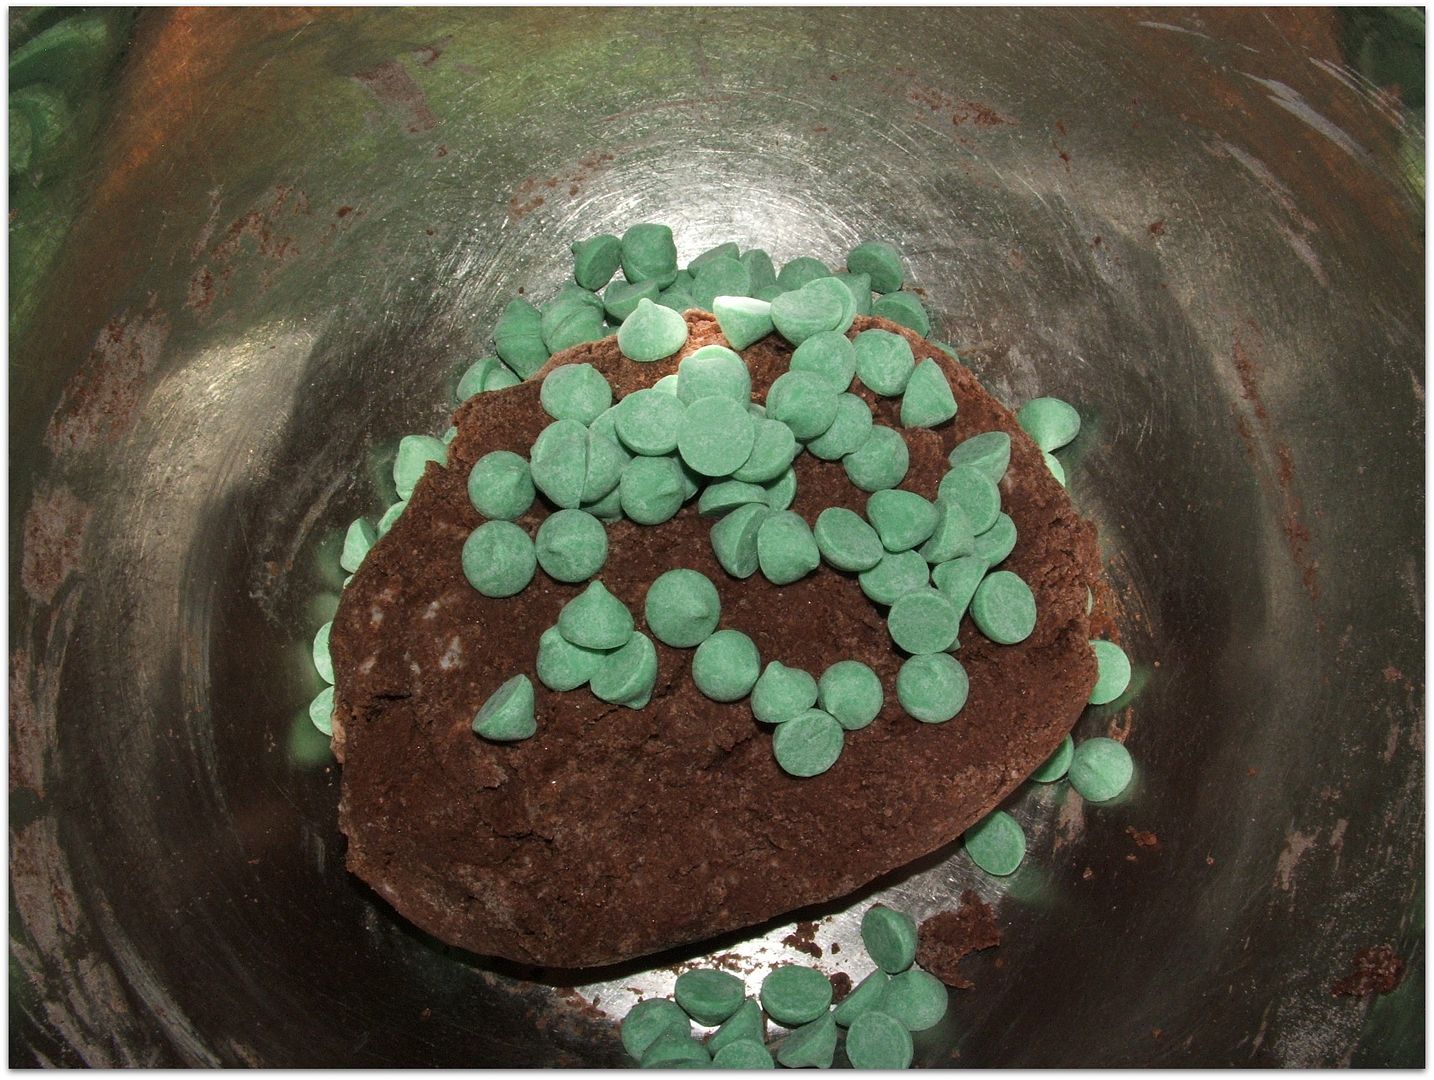
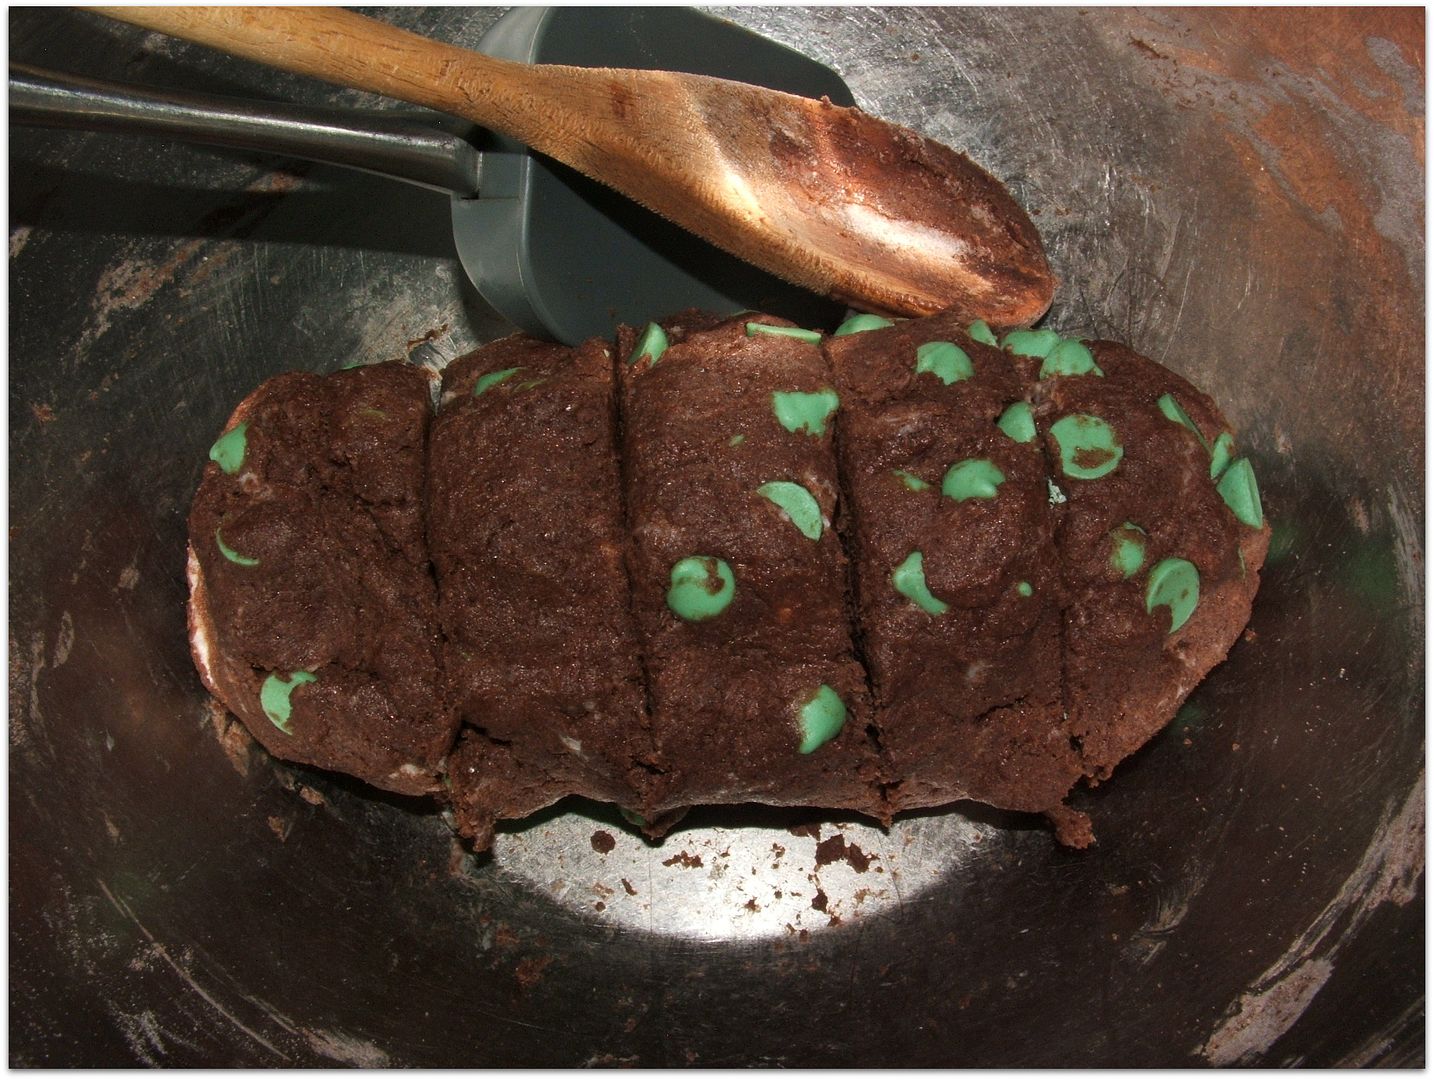
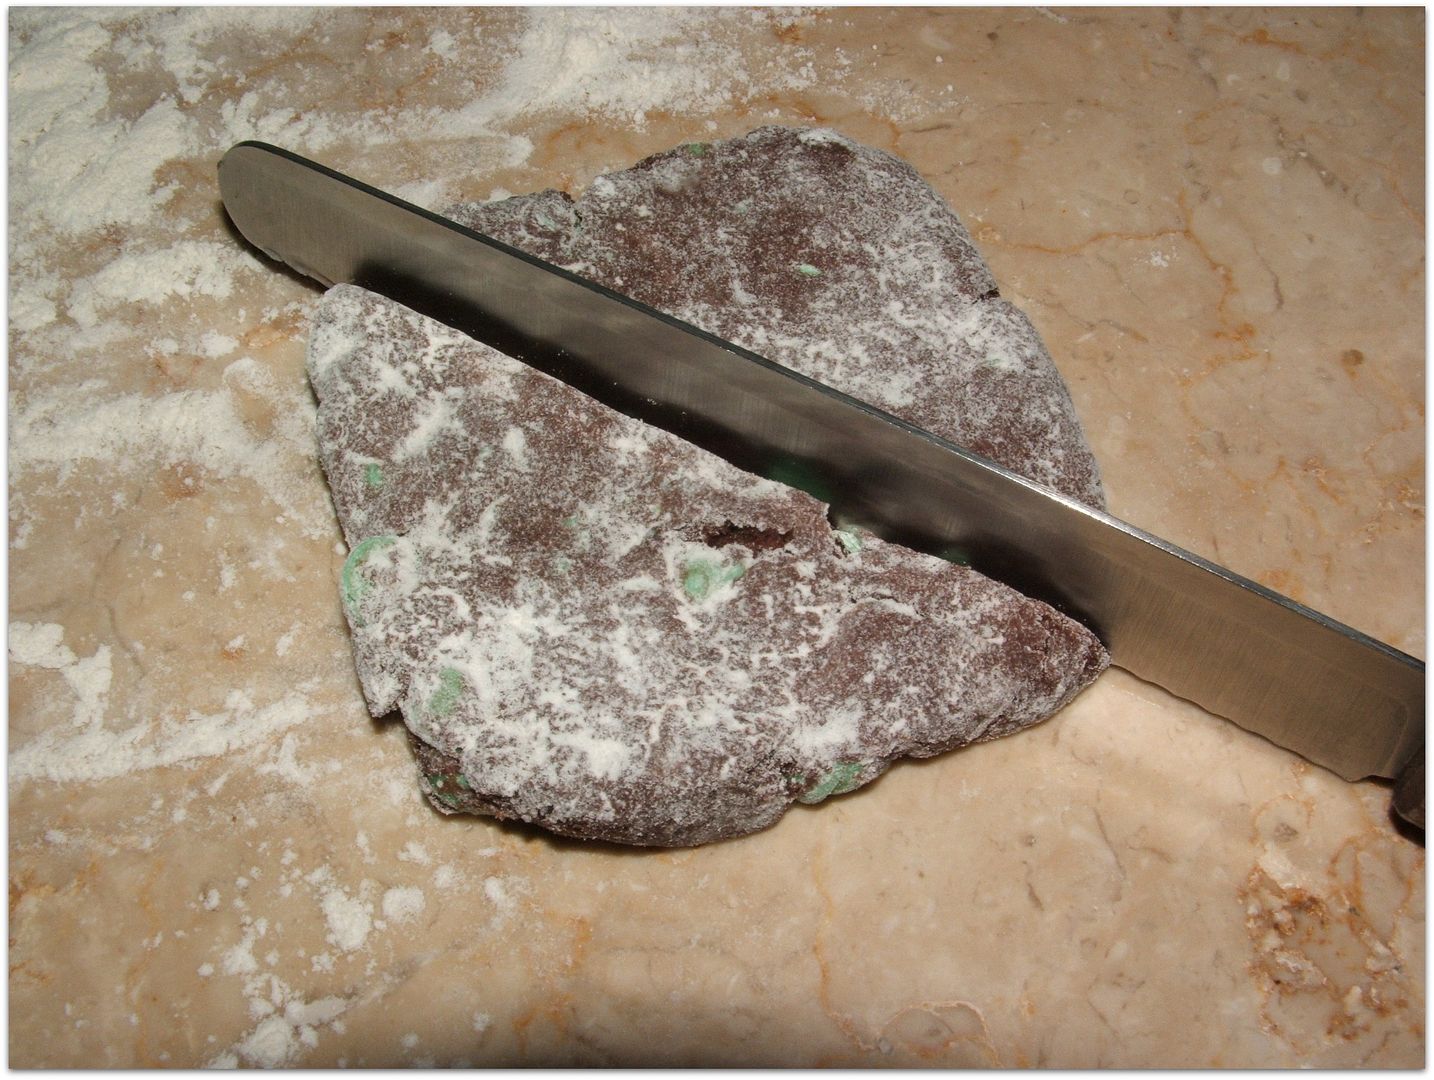
In a large mixing bowl, combine the flour, sugar (1/4 cup), cocoa, baking powder and salt - stir until combined. Cut the butter into the flour mixture until it is crumbly. In a small bowl lightly whisk the egg and cream together. Add the egg/cream to the dry ingredients and stir (the dough should resemble the top left picture below). Form the dough into a ball with your hands and add the mint chips - gently knead/work the chips into the dough with your hands. Roll the dough into a cylindrical shape & cut into 5 equal puck chunks (see picture bottom left in the collage below). Form each dough chunk into a square & roll it to about 3/4 inch thickness on a lightly floured surface (repeat for all 5 chunks). Cut each rolled square dough chunk diagonally to make a triangle shape (see bottom right picture below) (this will make a total of 10 scones).
Place on a parchment lined cookie sheet and sprinkle each scone with extra sugar (see picture below).
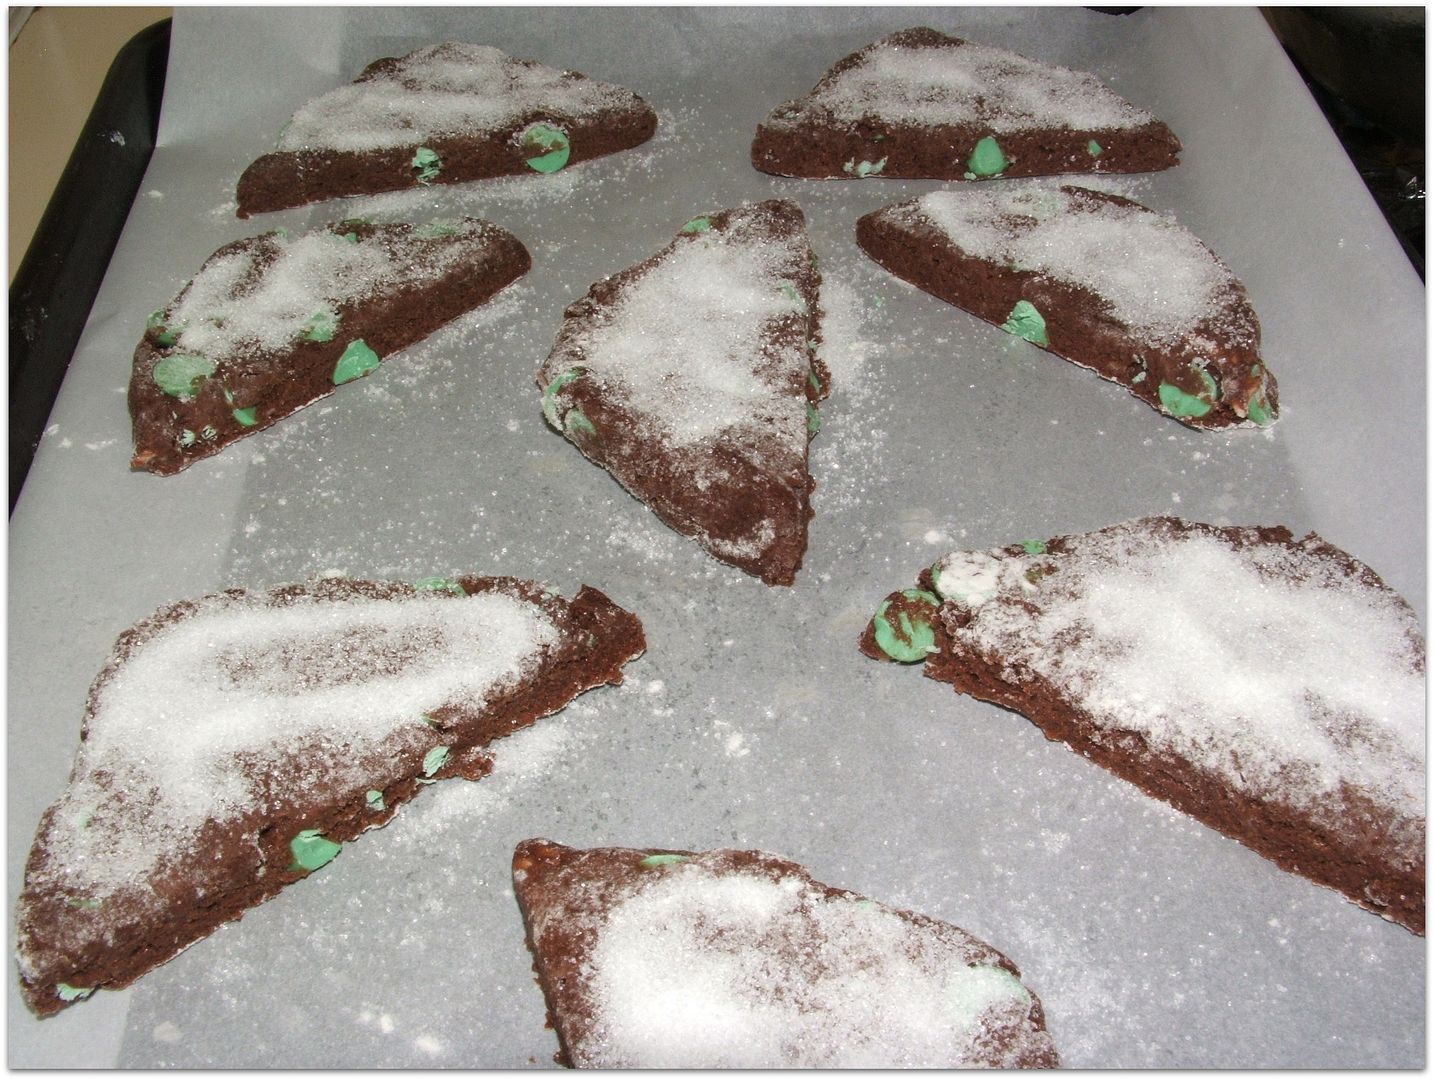
Bake in a preheated 400 degree oven for 10 to 12 minutes (or until desired doneness is achieved) - Be careful NOT to bake too long - then they will be too dry.

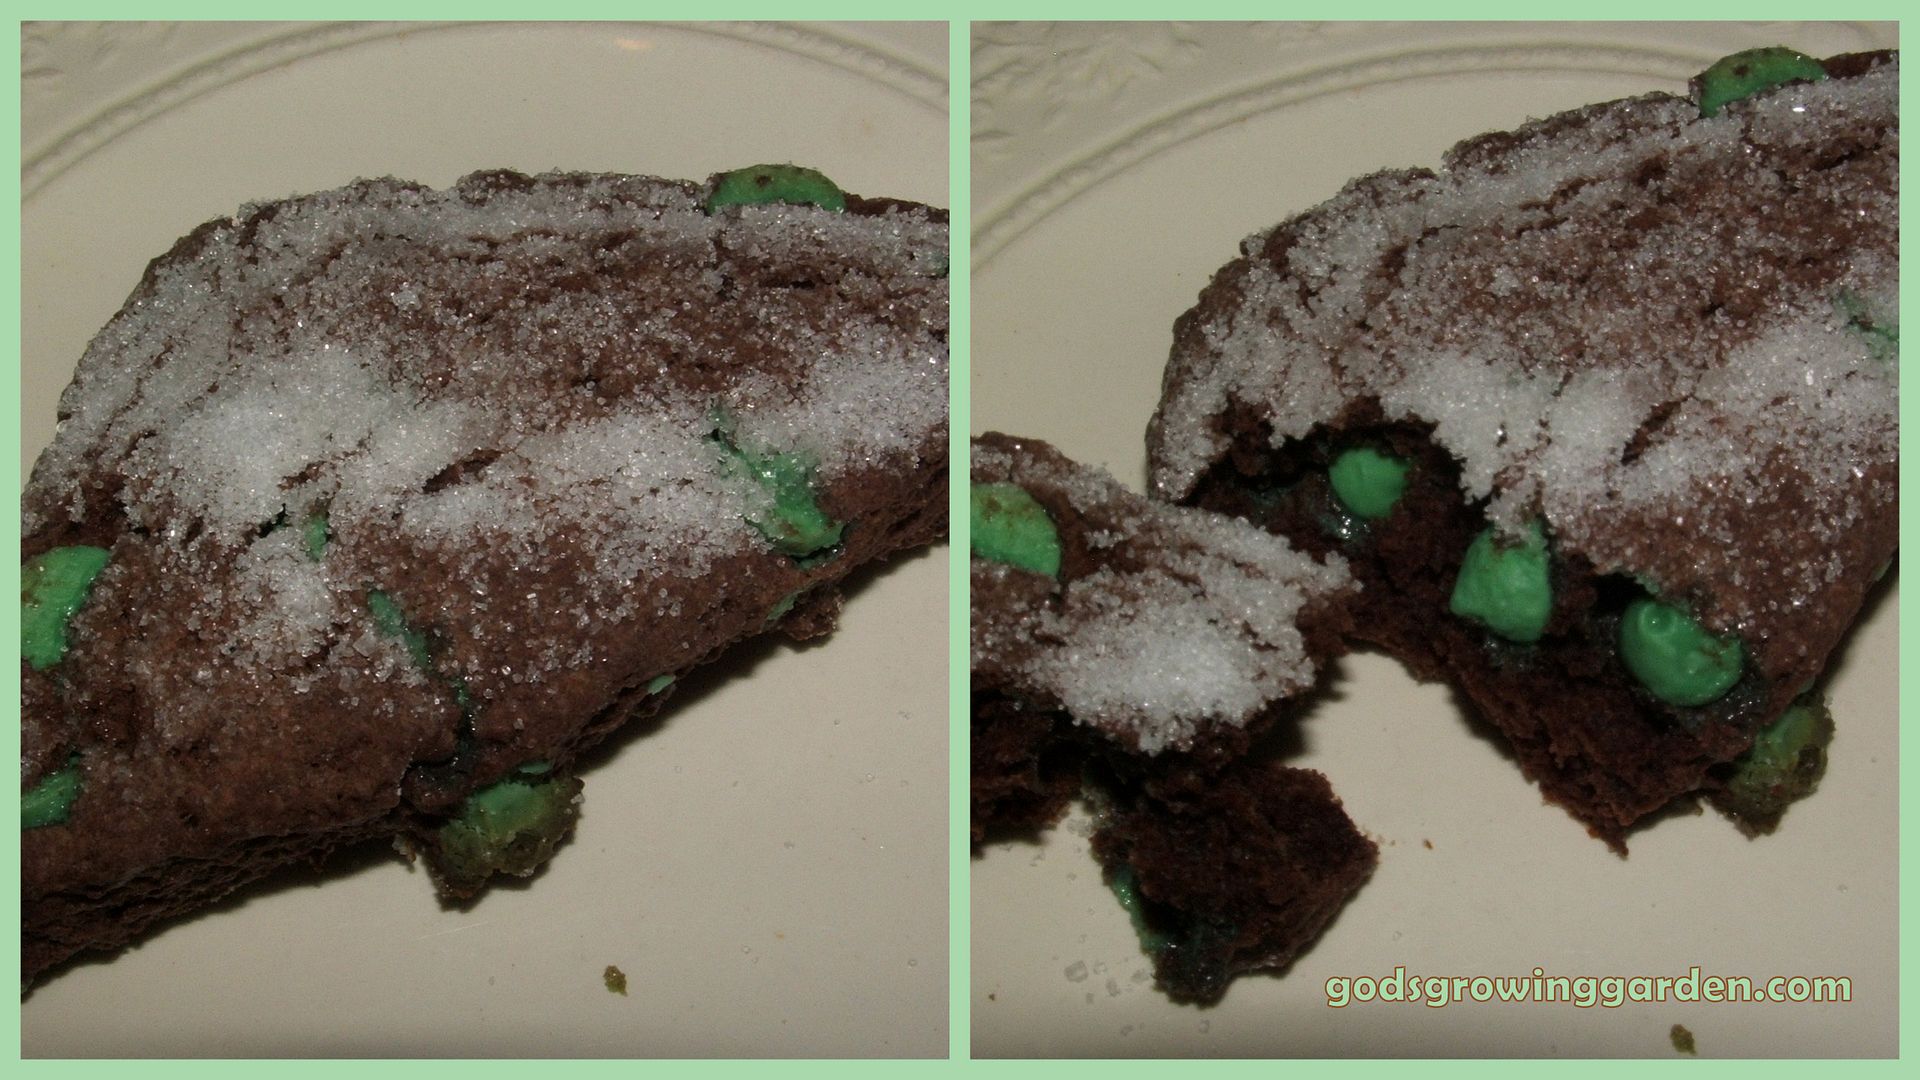
Remove from the oven and cool on a drying rack. You can see by the picture below that they are perfect inside - not too dry and not mushy either.
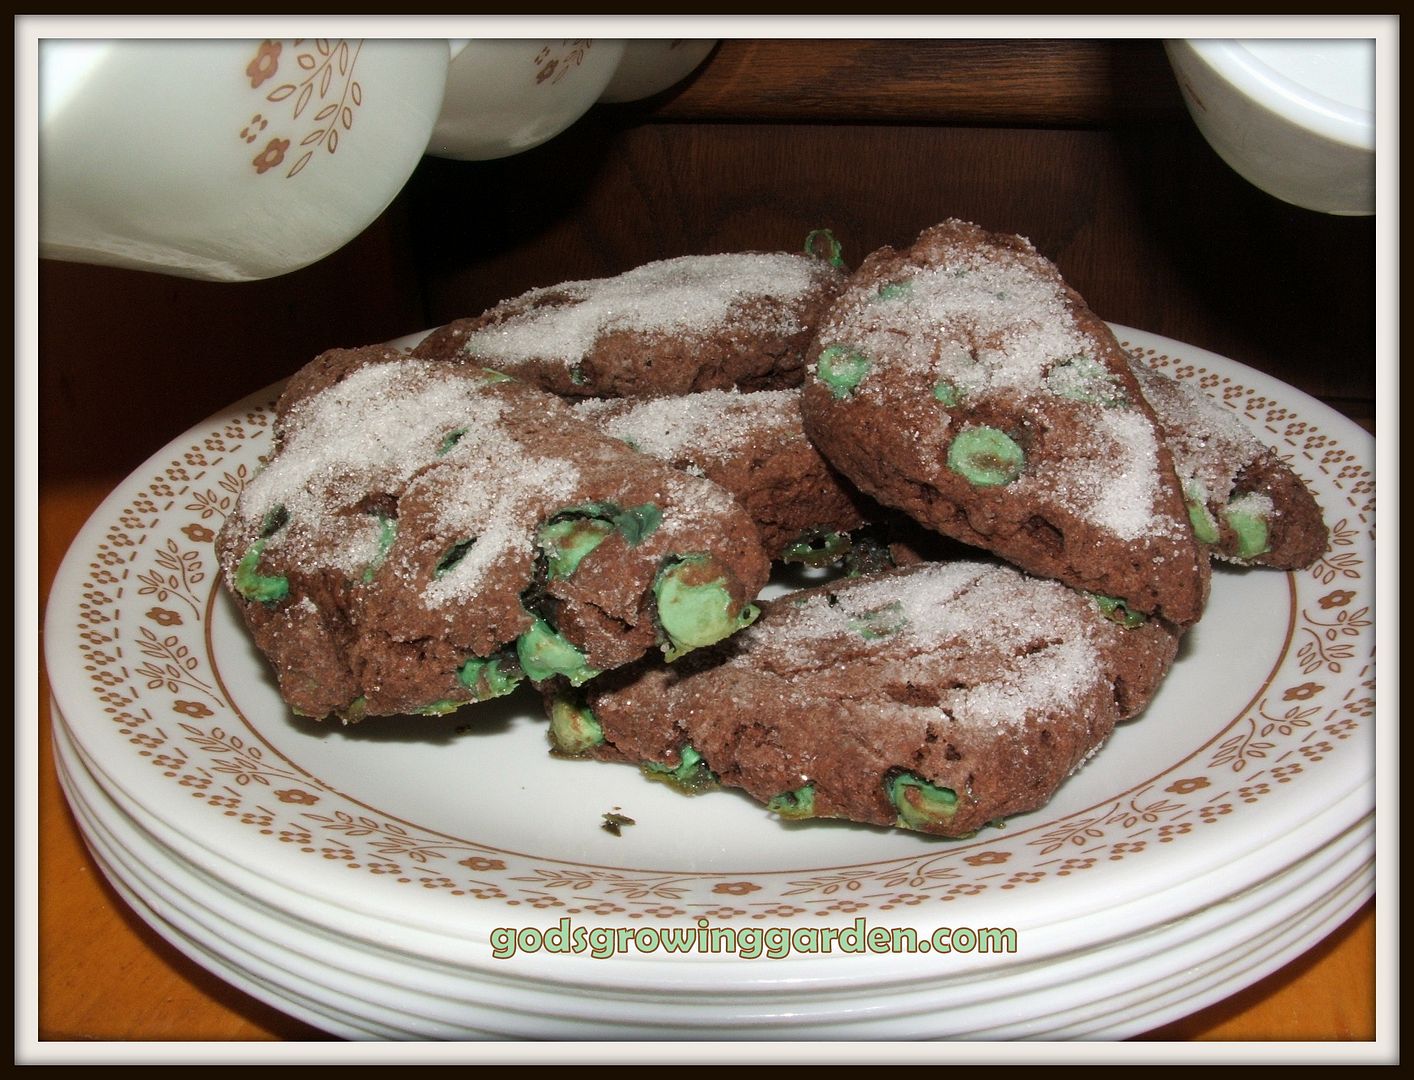
Serve and eat either plain or dipped in your favorite coffee or hot chocolate ENJOY!!
Copyright, Permissions &Disclaimer

Linked to:
Pretty Pintastic Party
Happiness is Homemade
No Rules Weekend Blog Party
Friday Feature Linky Party
You're the STAR
LouLou Girls
Tuesdays with a Twist
Turn It Up Tuesday
Wonderful Wednesday Blog Hop
Homemade & Handcrafted
Thursday Favorite Things
____________________________________________________________________
Recently on "Essential Oil Saturdays"
We learned how essential oils are extracted from flowers/leaves/roots.
Click HERE to read.

Click HERE to view more about Essential Oils
Recently on "Essential Oil Saturdays"
We learned how essential oils are extracted from flowers/leaves/roots.
Click HERE to read.

Click HERE to view more about Essential Oils
No comments:
Post a Comment
Please feel free to leave comments or questions (no question is ever stupid) - They will show up on the blog once I have read through them.
Thank You.