Thursday, August 30, 2012

Mammoth Sunflowers


photo by Angie Ouellette-Tower
Mammoth Sunflowers

This year I grew 5 different varieties of Sunflowers and I will be sharing them with you over the next few months.  This is the basic variety that most people think of when you hear the word "sunflower."   The "Mammoth Sunflower" is the most striking because of it's size, sculpted petals and it's bright yellow color - simply put - it's MAMMOTH.

 All photos were taken by me (Angie Ouellette-Tower) and the sunflowers were all grown my garden.

 © (2012)

 ENJOY!
photo by Angie Ouellette-Tower

photo by Angie Ouellette-Tower


photo by Angie Ouellette-Tower


photo by Angie Ouellette-Tower

photo by Angie Ouellette-Tower


Sunflowers from 2012:

Sunflowers from 2011:


Linked to:

Tuesday, August 28, 2012

#Kale - 4 Different Varieties


KALE: 4 Different Varieties
Kale has become the new "super food".  Kale is a great source of fiber and protein - it is high in vitamin C, vitamin A, calcium, potassium, Omega-3 fatty acids, Vitamin E, Iron........I could go on and on.  Kale has anti-inflammatory properties, it lowers cholesterol and lowers cancer risks (again - I am NOT a doctor - this is just from information that I have researched over the years).
This year in my garden I grew 4 different varieties of Kale - I have detailed these varieties below:


1.  Toscano - this variety is tied for my favorite in taste & texture.  These leaves are very thin and the taste is very mild.  It has a smooth leaf and when picked young it is wonderful in salads raw!


2.  Savoy - This is my least favorite variety - I dislike it so much that I will never grow it again.  These leaves are very tough and the taste is harsh.  Even the "tender" young leaves are thick and difficult to eat - they keep their "toughness" after being steamed or cooked.


3.  Curly Winterbor - this is the variety that we are most familiar with and I believe this is also the variety that is most often found in grocery stores.  The flavor is good but since I have sandy soil, the problem with this variety is the "curliness".  No matter how much I soak the "Curly Winterbor" in water I still end up biting down on a grain of sand - I HATE THAT!  That being said - I do think that this variety is the most prolific of the 4.


4.  Red Russian - this is my favorite (or tied for my favorite).  This variety has the most smooth leaf and the red vein just adds to it's beauty.  Even the larger leaves (as seen below) stay tender and smooth.  This might be the most mild in flavor - a little more mild than the first variety.  And the shape of these leaves are so unique - almost like an oak tree leaf.


ENJOY!!
by Angie Ouellette-Tower for godsgrowinggarden.com photo Day_zpsb50f87c9.jpg

Linked to:

Sunday, August 26, 2012

God Is Light

"...God is light;  in Him there is no darkness at all.  If we claim to have fellowship with him yet walk in the darkness, we lie and do not live by the truth.  But if we walk in the light, as he is in the light, we have fellowship with one another, and the blood of Jesus, his Son, purifies us from all sin." 
1 John 1:5-7

There were 2 times in my life when I truly experienced total darkness.  Once was in the "Mammoth Caves" in Kentucky but today I'm going to share with you the other time that I experience total darkness.  I was in my late teens and I was on a canoe retreat trip with my church youth group.  It was in the beautiful wilderness of the "Muskokas" in "Algonquin" Park.  It was rustic camping and on 1 of the nights during this canoe trip there was a lunar eclipse .  These woods are dense and many miles away from any town or city - no street lights of any kind.  Normally, at night in the woods - the moon is sufficient to provide the necessary nocturnal guidance.  However, when there is a lunar eclipse it becomes darker than dark, blacker than black - it was terrifying!  Suddenly the outdoors became closed in and caused me to feel claustrophobic and I felt like I was suffocating!  I clung to my flashlight all night long - I knew who was in the tent with me but somehow everything became strange & frightening.   I normally don't mind the darkness - I like a rainy day or a dark blizzard but this was different.  Walking around without a flashlight or campfire was impossible.  Most of my peers at the time found it "cool" or funny - I didn't - I found it petrifying.

This account of my "darkness" experience is the same as what it would be like to feel spiritual darkness.  In this Bible passage today we see that "God is light; in Him there is no darkness at all."  No darkness at all - never will there be any darkness with God.  In the dark there can be no planning, no living, no advancement - no hope!  The other point of this passage today is that we can't lie about our fellowship with Jesus.  If we tell others "Oh yes, I'm a Christian" but then lead a secular and sinful life, then our "walk" will tell the truth - our actions will show others if we are truly walking with God.  God is our beacon of light that guides us through life's darkest times.  We as Christians can also be a spiritual flashlight to the world - God's love will shine through us!  We can draw from this "spiritual flashlight" by praying, studying God's Word and having fellowship with other believers.  And by the way, the batteries in this "spiritual flashlight" will never die - there is enough light to go around forever and enough light for everyone!

Remember to shine your spiritual flashlight before you make any steps in life - God is light & He will safely guide you.

Linked to:
Adorned from Above
Faith Filled Fridays

Friday, August 24, 2012

Frank's Flowers - The "Eiffel Tower Rose"


Photo by Angie Ouellette-Tower

Frank's Flowers - The Eiffel Tower Rose
A few months ago I showed you how to Prune & Trim Roses and in that post I promised that I would show you how to start a rose bush from cut roses.......well, I just ran out of time this year.  I do apologize - but this will be one of the first posts in the spring next year. 
However, this year I will still feature a few of my father's roses.
Today's Flower Feature is The Eiffel Tower Rose.
I look at this beauty and the song "La Vie En Rose" starts running through my head.  For those of you out there who don't know any French - "rose" in French actually means "pink" and "vie" means "life".  So literally, the title of this song means "the life in pink, or in shades of pink".  When you look at this stunning rose your world turns pink - there is nothing else - you can't look away - it is mesmerizing.  Oh! and the fragrance!  Many roses can be sickeningly floral but this rose has a clean, green, cooling scent that is so intense and wonderful.  Out of all of my dad's roses I think that this rose is one of the best smelling roses.  The "Eiffel Tower Rose" is a very tall rose bush with barely any thorns - many times the stem looks like someone came along and snapped off all of the thorns but it just grows that way. 

I wish that I could send all of you an "Eiffel Tower Rose" but shipping costs being what they are - please ENJOY these digital versions of this fantastic flower! 


Photo by Angie Ouellette-Tower


Other Roses on this blog:
Peach Feather
The Sunset Rose


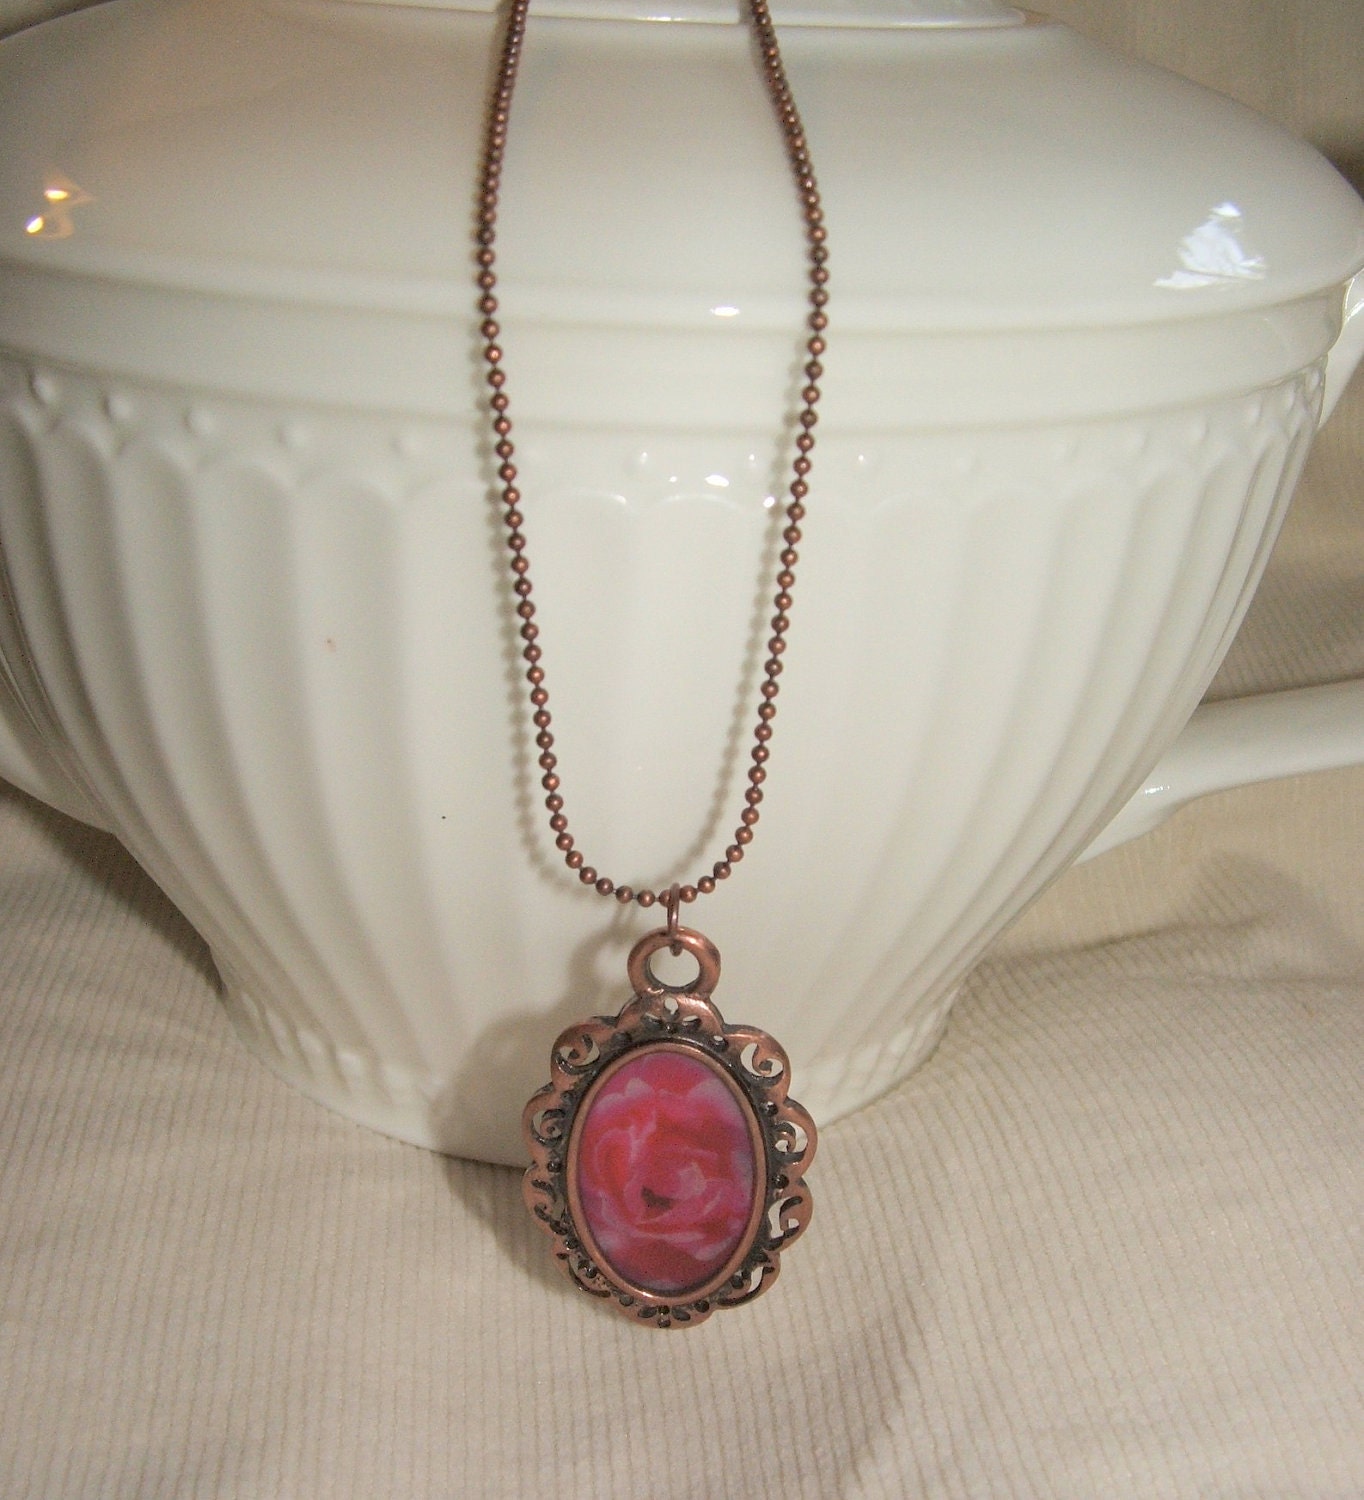
This Eiffel Tower Rose Necklace is no longer available in my Etsy Shop


Rose Photo Necklace Garden Gems


Linked to:
What You Made

Wednesday, August 22, 2012

Kale & Bacon Potato Patties - They're Bright Green!


Kale & Bacon Potato Patties

It's bright green food! - I should have waited until St. Patrick's Day to post this recipe but since my Kale crop is ready to be used I wanted to share this with you now.

GLUTEN FREE readers:  If you want to make this recipe gluten free then omit the bread crumbs and use corn meal instead (always make sure that your corn meal is 100% corn with NO added wheat) (and also make sure that none of your spices have any added malt or wheat and also that your bacon is gluten free).

1 cup fresh Kale (washed & "de-veined")
1 small onion (remove the skin)
1/4 cup water
4 cups leftover mashed potatoes
1 egg
bread crumbs (I used Italian Bread Crumbs) (for breading)
1/2 cup bacon (fried, drained & then chopped)
1/8 teaspoon garlic powder (NOT garlic salt)
1/2 teaspoon ground black pepper (or red hot chili pepper if you prefer spicy)
olive oil
salt to taste later (you might not need any salt because of the bacon)

Prepare the ingredients as listed above.  Blend the Kale, onion & water -
I used my "NutriBullet" to blend the Kale, onion & water but a blender works just as well.
Now, with a wooden spoon, combine the kale/onion mixture, mashed potatoes, egg, bacon, garlic powder & black pepper and stir until it resembles the third picture below.  If the consistency is a little runny then you may add a little bread crumbs into patty batter (or if you are eating Gluten free then add corn meal instead).


It is time to form the patties - if you want to make them all the same size scoop 1/2 cup of the batter and form them into patties with your hands.  Place some Italian seasoned bread crumbs onto a plate and then bread both sides of each patty.  Continue forming & breading the patties until all of the batter is used up.


Pour a few tablespoons of olive oil in a large frying pan and saute every Kale & Bacon Potato Patty until fully cooked (you will want to saute them on both sides for about 5 minutes on each side or until desired color is achieved - Make sure that you are sauteing over medium heat so that they won't burn) (NOTE:  You might need to add a little more olive oil half way through sauteing).

Serve immediately - eat them plain, with a dollop of sour cream on top or drizzle on some gravy & ENJOY!!


Linked to:

Monday, August 20, 2012

Saving Seeds - Greens (Kale, Collard, Bok Choy)


PICTURE#1   Photo by Angie Ouellette-Tower

Saving Seeds - Greens (Kale, Collard, Bok Choy)

Saving Seeds is such an important part of home gardening.  You can grow totally free food if you save your own seeds.  For example - If you make your own compost (fertilizer) (or if you have access to free manure) and if it was a perfect season (with optimal rain therefore no need for watering) - then you could literally have free food.  Except for paying the property taxes on your land there is no other expense involved in growing your own food if you are able to save your seeds.  OK, yes - time is money but the effort of gardening will only benefit your health - good exercise & vitamin D from the sun.


 PICTURE #2 - Photo by Angie Ouellette-Tower

I'll stop pushing the "Backyard Farming" movement today but let's talk about saving seeds from greens like Kale, Collards, Spinach and Bok Choy (the seeds look similar for all of these plants and the seed saving steps are also the same).

Now, it is important to know if the original plant from which you are savings seeds is an Heirloom or Hybrid (I will explain this in a different post).  You will want to save Heirloom seeds.

STEP1:  Allow your plant to bolt (this is when the middle part of the plant grows up above the green leaves - as seen in PICTURE#2).  In my northern climate, I allowed my plants to "winter over" and then they bolt/go to seed in late spring the next year.  In a more southern climate these plants will bolt at the end of the growing season.
STEP2:  After your plant has bolted you will notice these long skinny pods appear.  Inside these pods are many little seeds.  You must allow these pods to dry out while on the growing plant (DO NOT PULL UP THE PLANT UNTIL YOU HAVE HARVESTED THE SEEDS) (see PICTURE#2).
STEP3:  Now you can cut the dry pod heads off of the plant and place the dried pods in a paper bag as seen in PICTURE#3 below.  (You may pull the plant after the pods have been cut off of the plant).

PICTURE #3 -  Photo by Angie Ouellette-Tower

STEP4:  Once all of the pods are in your paper bag - begin crunching the pods with your hands (wear gloves to protect your hands).  Now, kind of close the top of the bag and then shake.  Keep on shaking until you see many hundreds of seeds in the bottom of the bag.  The seeds should be black in color and look like what my husband is holding in PICTURE#1 
STEP5:  Remove & discard the pod chaff and then place your seeds in a clearly marked smaller paper bag as seen in PICTURE#4.  Store in a cool dry place.


IMPORTANT:  Make sure that you clearly mark the type/variety of seed on each paper bag - even when you are shaking the seeds - otherwise you won't know what you are planting next spring.
ENJOY!!
PICTURE#4 -  Photo by Angie Ouellette-Tower

Sunday, August 19, 2012

Strength In Weakness


"To keep me from becoming conceited because of these surpassingly great revelations, there was given me a thorn in my flesh, a messenger of Satan, to torment me.  Three times I pleaded with the Lord to take it away from me.  But he said to me, 'My grace is sufficient for you, for my power is made perfect in weakness.'  Therefore I will boast all the more gladly about my weaknesses, so that Christ's power may rest on me.  That is why, for Christ's sake, I delight in weaknesses, in insults, in hardships, in persecutions, in difficulties.  For when I am weak, then I am strong."  2 Corinthians 12:7-10

We continue this week talking about hardships, sufferings & weaknesses that we as Christians must endure.  In these verses Paul talks about his concerns about becoming conceited and his understanding that "a thorn in the flesh" is sometimes necessary to keep us humble and for God to be glorified.

Let's be honest with ourselves - isn't it human nature to become proud and arrogant when our life is going "perfectly"?  We start to think: "I'm a really strong person", "I can do anything if I put my mind to it" or even "I'm better than they are."  This attitude comes from a belief in our own strength & our own accomplishments.  However, when something bad happens, then we have to face the fact that our strength does not come from our own being. 

A hardship or a "thorn in the flesh" can cause us to become weak in a second.  This "thorn" can be an illness, an accident, financial ruin, marital strife, loss of a loved one, mental disorder, loneliness.....(I could go on and on).   My favorite line in these verses: "My grace is sufficient for you, for my power is made perfect in weakness."  When these persecutions start, we become weak and it is only God's Divine power that will shine through our weakness.  There can be no deception, if we draw on God's power then only Jesus Christ will get the glory because nothing that I did on my own got me through any hardship.  This "grace" is the gift of forgiveness through Jesus Christ  - a gift that we don't deserve.

It all has to do with total trust.  I think that there is the potential for extreme bitterness here - when someone tries to rely on their own strength to get them through difficulties.  I have seen it happen many times - when someone has an issue with "trust" and cries out to God for help but then becomes bitter because "God didn't answer their prayers."  In order for our Heavenly Father's power to work in getting us through these hardships we must put everything in His hands and trust God entirely!  That is the most difficult part - "letting go and letting God."  His Divine Power is unfailing and never ending.

The strength in weakness can only come from God.  Always depend on God's strength - NOT your own. 

Saturday, August 18, 2012

Enjoy Making Homemade Spicy Dill Pickles


Enjoy Making Homemade Spicy Dill Pickles

As a child, helping my mom make dill pickles was one of my favorite summer events.  Don't get me wrong,  I enjoyed our other summer family traditions like going to the beach every summer Saturday.  However, there was just something special about helping my mom with canning - I knew even then how important it was to learn how to preserve our garden produce.  Oh! - and the wonderful aroma - the house would be filled with the fragrance of dill, pickling spices & vinegar for days.

This recipe that I am sharing with you today is not my mom's original dill pickle recipe - I have made that recipe into a scrumptious spicy dill pickle (I'll share her basic dill recipe in a different post).

ENJOY!!


7 to 8 lbs of fresh pickling cucumbers (scrubbed, washed & drained)
3 large onions (sliced into thin circles)(vidalia onions are wonderful for this recipe)
8 to 10 dried whole cayenne peppers
10 sprigs of thyme
1 jar of pickling spices
10 fresh dill heads (as seen in the picture above)
1 jar of dried black peppercorns
10 cloves of garlic (peeled & left whole)
20 Bay leaves

Prepare the cucumbers, garlic and onions as described above (and gather the remaining ingredients).


Brine
7 cups water
10 cups vinegar
1 cup sugar
1 cup Pickling salt (or Kosher salt)
Gather your canning jars, lids and rings (you will need 8 to 10 quarts). Canning Basics - Jar Sizes. Also, gather all other canning supplies: Other Canning Supplies .

Start the water boiling for Jar sterilization: Sterilizing Jars & Lids

In a large stock pot combine the vinegar, sugar, water and (pickling) salt and bring to a boil over medium heat.

By now your water for jar sterilization should be boiling - sterilize your jars 2 at a time. Take them out and begin "raw packing" (Raw Pack vs. Hot Pack) the vegetables. Start with a few onion rings and 1 garlic clove at the bottom of the jar and then start filling with the cucumbers. When the jar is half way full, pick up the jar (with oven mitts) and gently shake the cukes down (I gently shake the jar against the palm of my other hand - also covered with an oven mitt - the jars are very hot!!) This shaking helps the cucumbers settle in the jar and it makes more room for more cucumbers- you want to get the jar as packed as possible. Less brine will be used if your jars are packed quite tight. When the jar is about half full (see picture below) - add 1 dill head, 1 (or 2) cayenne pepper(s), 1 sprig of thyme & 2 bay leaves.  Continue filling the jar with pickles but leave enough room at the top of each jar for a few more onion rings (Never fill above where the jar rings begin). Top with a few more onion slices and then finally add 1 teaspoon of pickling spice (per jar) & 1 teaspoon of black peppercorns (per jar). (Continue sterilizing jars and Raw Packing them until all of the cucumbers have been used up)


Place the "Raw Packed" jars in a preheated 350 degree oven for 8 minutes (This is before you pour the boiling brine on top). After the 8 minutes remove the jars from the oven and slowly pour boiling brine in each jar - (you want to do this slowly so that the bubbles can work their way to the top before sealing each jar). Fill the brine up to the bottom ring thread of each jar (about 1 inch head space) (sometimes, if you see bubbles - take a plastic spoon and gently insert into the jar until the bubble is released to the top).  Now you are ready to place a sterilized lid and ring on each jar - make sure the ring is screwed on tightly. Now place the jars on the counter or table for 12 hours and you should hear that wonderful popping sound of the jars sealing. The next day, check and make sure that all jars are sealed - (if you press down on each lid and it moves up and down that means that it did not seal - you can put any unsealed jar in the fridge and eat them as refrigerator pickles)


Place all the sealed jars in the pantry and allow them to "season" for 3 months (or more) and then enjoy!  (If they are sealed properly they will last for 2 years).

NOTE: This recipe makes about 10 quarts but it all depends on how tightly you pack your jars - sometimes you might run out of brine because the jars have more space to fill. If that happens and you need a little more brine then just cut the brine recipe in half)


Linked to:

Featured on:

Thursday, August 16, 2012

Themed Blog & Shop Hop - Summer Vegetables


WELCOME to the sixth
"Themed Blog & Shop Hop"
August 16th 2012!
I'm so glad that you stopped by!


For those of you who are not familiar with "Hops" (a.k.a. Linky party) - a Blog Hop &/or Shop Hop is an event where viewers/followers can upload links onto my blog......Links to their items in their Etsy shops or links to their Blogs. And then we can "hop" from blog to blog or shop to shop.

The theme this month is:
"Summer Vegetables"
Anything having to do with veggies of any kind - how to grow veggies, recipes, any item from any of your online shops that has some kind of vegetable incorporated into the design of that item - anything having to do with vegetables.

If you have anything that remotely touches this topic - then please share it with us.


Although I would love it if everyone joined my blog or became followers of my blog - that is not a requirement to participate in this "Hop". All I ask is that you keep your submissions decent - no offensive content please.

Well, actually there is a second rule:
only 2 submissions per person please.

If you do not have a blog or a shop then please still stop by and take a digital walk through our virtual mall.


I will be having a "Themed Blog & Shop Hop" once a month - the middle of each month. Next month's hop will be on:
SEPTEMBER 13th, 2012

ENJOY!!


To Etsy shop owners - please only upload links directly to the items that you would like to share with us - not a link to your entire shop - Thanks.

To Blog writers - you may submit any post that fits into the theme - it can be an old post from many months ago (it does Not have to be a recent post). Also, please submit the link directly to the post and Not a link to your homepage - Thank you!

I will be "tweeting" about the submissions throughout the week to come and if there are enough submissions I will be making an Etsy treasury also.

Linked to:
Adorned from Above


Wednesday, August 15, 2012

July Blog & Shop Hop - THE RESULTS


I would just like to thank all of you again for either visiting or participating in my fifth "Themed Blog & Shop Hop" - I had so much fun and I hope that you did also!

NEW this month - I created 2 "blog buttons"! 
1.  If you were featured because you received the most likes (this is a picture of my Great Pyrenees baby boy - he is almost 7 years old).
2.  If you were featured because you received the most clicks (this is a picture of my stray cat girl - she is 9 years old).
I realize that many people do Not have a blog but if you were featured & if you do have a blog then I wanted to have these buttons for you to post on your sidebar if you so desired (NOT a requirement - just an option).

Now - The Results (If you haven't already - please checkout all of these wonderful blogs & shops) (actually this month the features are both shops).


 For the most "likes":

The Most "Likes", http://godsgrowinggarden.com


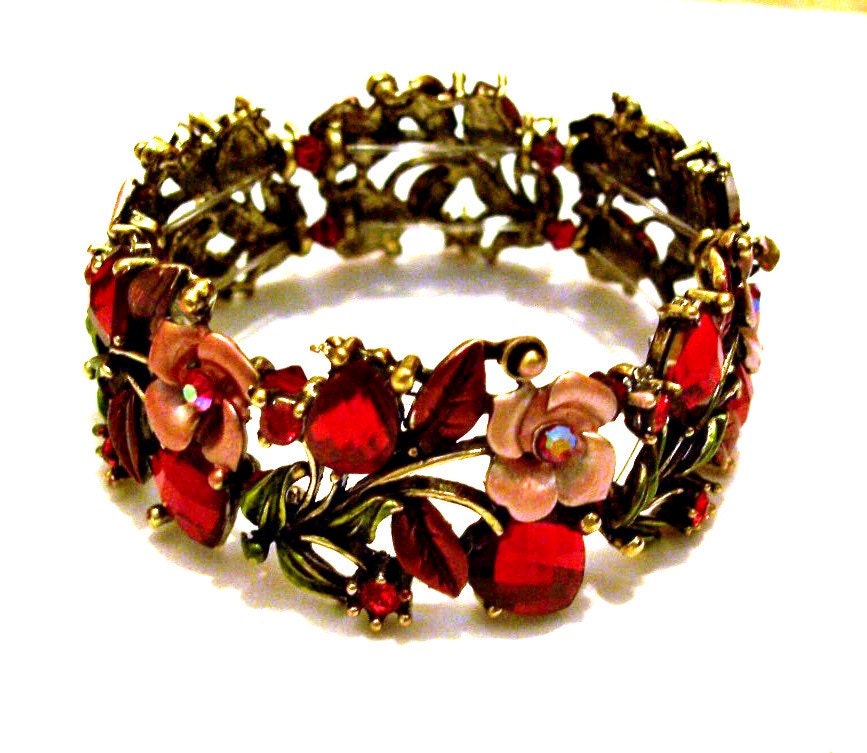
Bracelet Red Roses Hearts Crystals Red Hat Society Lady


For the most "clicks":

The Most "Clicks", http://godsgrowinggarden.com


Please join us tomorrow for the sixth Themed Blog & Shop Hop!


Tuesday, August 14, 2012

Light, Medium and Dark Zucchinis


Light, Medium & Dark Zucchinis

My husband calls Zucchini "The Carp of the Garden" and he's right!  One zucchini can be the size of a pickle at night and then the next morning it is the size of a large fish.  Also, zucchinis are "carp-ish" because each plant produces an unending supply of this versatile vegetable.


This year I grew 3 different varieties of zucchini:

Butta Zucchini - this is a yellow zucchini - not to be confused with yellow summer squash (there is a difference).  This is a much milder zucchini in flavor.  The skin is very tender and much more delicate.  When picked it will only last 1 day before the skin begins to break down.  Even with the short shelf life this is now my favorite zucchini because of the taste. 

Greyzini - this isn't really grey, it's more sage green.  This variety is not only medium in color but also in taste - the 3 varieties shown in the picture below go up in color, tenderness and flavor.  (The yellow being the lightest in color, most tender and most delicate flavor - everything goes up in intensity from there).  Greyzini is the most difficult to germinate from seed - I only have 3 "Greyzini" plants that made if from 1 package of seeds (there were about 10 seeds in this package).

Zucchini Black - this is the traditional zucchini that we are all familiar with.  When picked this variety will last for days inside on the counter (lasting even longer in the fridge).  The skin is more tough and the flavor at times (in my opinion) is a little bitter (especially the large dark zucchinis that were hiding and grew into a mammoth veggie).

ENJOY!!


Zucchini Ideas on this Blog:


Linked to:
Related Posts Plugin for WordPress, Blogger...